PET-CT/Documentation/Modules/GuidedInterventionPETCT: Difference between revisions
(Update for version 2.0) |
(→Introduction and Acknowledgements: email addresses) |
||
| (2 intermediate revisions by the same user not shown) | |||
| Line 2: | Line 2: | ||
Authors: Andinet Enquobahrie [http://www.kitware.com Kitware], Guillaume Sala, [http://www.kitware.com Kitware], Rahul Khare, [http://www.childrensnational.org ChildrensNational], Julien Finet [http://www.kitware.com Kitware], Dženan Zukić [http://www.kitware.com Kitware]<br> | Authors: Andinet Enquobahrie [http://www.kitware.com Kitware], Guillaume Sala, [http://www.kitware.com Kitware], Rahul Khare, [http://www.childrensnational.org ChildrensNational], Julien Finet [http://www.kitware.com Kitware], Dženan Zukić [http://www.kitware.com Kitware]<br> | ||
Acknowledgements: This work is supported by NIH grants 2R42CA153488-02A1, R41CA153488-01 and 3R42CA153488-03S1 "Improving liver lesion biopsy in the CT suite through fusion with PET images"<br> | Acknowledgements: This work is supported by NIH grants 2R42CA153488-02A1, R41CA153488-01 and 3R42CA153488-03S1 "Improving liver lesion biopsy in the CT suite through fusion with PET images"<br> | ||
Contact: Andinet Enquobahrie, Dženan Zukić<br> | Contact: [mailto:andinet.enqu@kitware.com Andinet Enquobahrie], [mailto:dzenan.zukic@kitware.com Dženan Zukić]<br> | ||
= Module Description = | = Module Description = | ||
| Line 121: | Line 121: | ||
| valign="top"| | | valign="top"| | ||
This is the last step of the workflow. It displays 4 slice views: axial, sagittal, a slice through the needle, and a slice perpendicular to the needle, all according to the position of the tracker device. | This is the last step of the workflow. It displays 4 slice views: axial, sagittal, a slice through the needle, and a slice perpendicular to the needle, all according to the position of the tracker device. The panel allows control over visual properties of the needle, rotation of bottom-right slice and saving of statistical data and screenshots. The data is saved to computer user's home folder (''C:\Users\username'', ''/home/username'', etc depending on the operating system). | ||
| align="right"| | | align="right"| | ||
|[[File:GuidedPETCTWorkflowStep7Panel.png|thumb|300px|Guidance panel]] | |[[File:GuidedPETCTWorkflowStep7Panel.png|thumb|300px|Guidance panel]] | ||
|} | |} | ||
Latest revision as of 14:46, 25 November 2015
Introduction and Acknowledgements
Authors: Andinet Enquobahrie Kitware, Guillaume Sala, Kitware, Rahul Khare, ChildrensNational, Julien Finet Kitware, Dženan Zukić Kitware
Acknowledgements: This work is supported by NIH grants 2R42CA153488-02A1, R41CA153488-01 and 3R42CA153488-03S1 "Improving liver lesion biopsy in the CT suite through fusion with PET images"
Contact: Andinet Enquobahrie, Dženan Zukić
Module Description
The GuidedInterventionPETCT is a workflow-based module that guides the user in a step-by-step interface to realize a guided biopsy after fusing respiratory-compensated PET/CT with images in the interventional CT suite.
In each step of the workflow we prepare the necessary requirements to fulfill the end goal, following a given pipeline: Registration of the different volumes acquired, establishing the connection between the tracking device and Slicer, registration of the coordinate system of the tracking system and the registered volume and live tracking of the needle in Slicer.
This module uses existing modules to accomplish some of the steps:
Use Cases
Panels
Loading Step
|
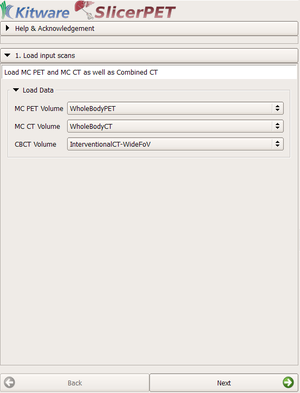
The loading step is the first step of the workflow. The user selects the data that is going to be used for the guided biopsy.
The volumes in these comboboxes will be used to compute the image registration, between the pre-operative PET/CT acquisition and the interventional CT. The fused PET and interventional CT images will guide the biopsy procedure. |
Volume Registration Step
|
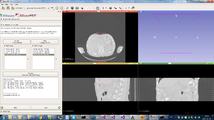
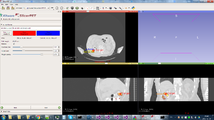
In this step we compute the image registration of the motion-compensated PET/CT and interventional CT.
|
OpenIGTLinkIF Step
|
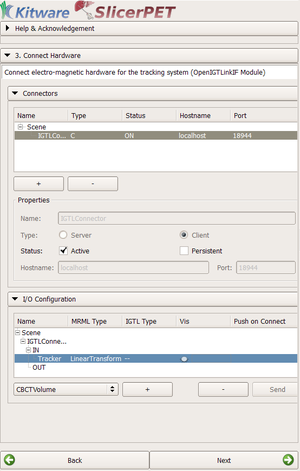
In this step of the workflow we establish the link between Slicer and the tracking system.
|
Pivot Calibration Step
|
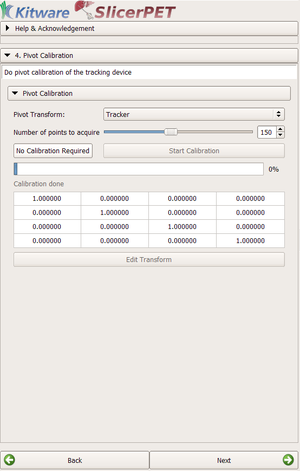
This section allows the user to run a pivot calibration algorithm on the tracker device (whose connection was establish on the previous step). To accomplish this, we import the existing PivotCalibration module. |
Hardware Registration Step
|
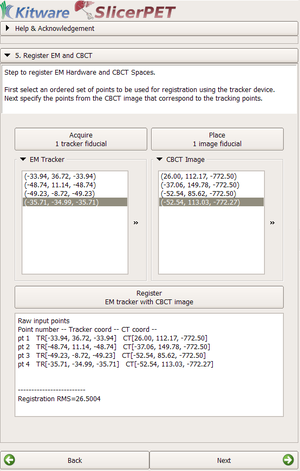
This step allows the user to run a fiducial registration to transform the tracker coordinate system to the registered volume (PET/CT scans with the interventional CT scans) coordinate system. For more information about the fiducial registration, please see the documentation here.
|
Path Planner
|
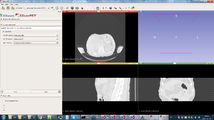
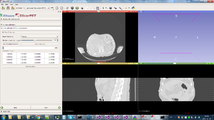
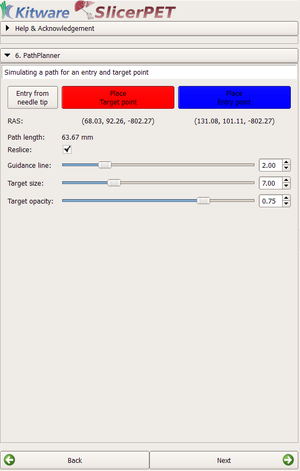
In this step the guidance path can be planned. "Place target" and "Place entry point" buttons allow the user to choose those points in the PET/CT fused image using mouse. "Entry from needle tip" allow entry point to be taken from the current needle tip position (usually after the interventional radiologist has placed it on the skin of the patient). Clicking on positions in the "RAS" row jumps all the slices to that position (target or entry point). |
Guidance
|
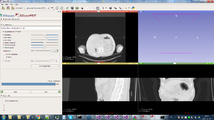
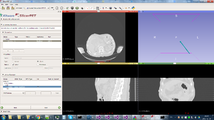
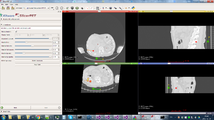
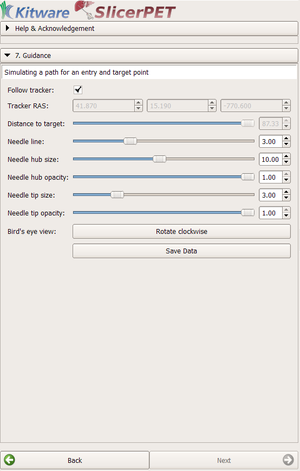
This is the last step of the workflow. It displays 4 slice views: axial, sagittal, a slice through the needle, and a slice perpendicular to the needle, all according to the position of the tracker device. The panel allows control over visual properties of the needle, rotation of bottom-right slice and saving of statistical data and screenshots. The data is saved to computer user's home folder (C:\Users\username, /home/username, etc depending on the operating system). |
