KWWidgets/Projects/3DWidgets/Part2/Widgets/VTK: Difference between revisions
No edit summary |
mNo edit summary |
||
| (5 intermediate revisions by the same user not shown) | |||
| Line 1: | Line 1: | ||
= Installing VTK on a Linux System = | |||
[[Image:3D_Widgets_Part_2_Linux_Logo.png|100px|CVS Command 2]] | |||
=== Setting up === | === Setting up === | ||
| Line 17: | Line 20: | ||
If there are no scripts in the downloaded archive, you will need to copy the files to the /usr/local directory with superuser privileges. | If there are no scripts in the downloaded archive, you will need to copy the files to the /usr/local directory with superuser privileges. | ||
[[Image:3D_Widgets_Part_2_Linux_cmake_zip.png|300px|CMake archive contents]] | |||
*VTK | *VTK | ||
First you need to download the latest VTK release via CVS. This ensures that you have the correct classes required for the 3D widgets. | |||
Following the CVS download commands (www.vtk.org): | |||
In a terminal window type: | |||
<pre>cvs -d :pserver:anonymous@public.kitware.com:/cvsroot/VTK login</pre> | |||
[[Image:3D_Widgets_Part_2_Linux_cvs0.png|300px|CVS command 1]] | |||
Respond with the password "vtk". | |||
Next type the command: | |||
<pre> cvs -d :pserver:anonymous@public.kitware.com:/cvsroot/VTK checkout VTK</pre> | |||
[[Image:3D_Widgets_Part_2_Linux_cvs1.png|300px|CVS Command 2]] | |||
CVS will then commence downloading. | |||
In a terminal window, change to the VTK install directory. | In a terminal window, change to the VTK install directory. | ||
:ccmake . | :<pre>ccmake .</pre> | ||
[[Image:3D_Widgets_Part_2_Linux_ccmake.png|300px|ccmake]] | |||
In the screen shown, pressing "c" will commence the configuration. If the vtk installation directory is not in your system's path, there will be at leat one error shown - press "e" to go back to the previous screen. Here you will need to scroll down with the cursor keys to the | In the screen shown, pressing "c" will commence the configuration. If the vtk installation directory is not in your system's path, there will be at leat one error shown - press "e" to go back to the previous screen. Here you will need to scroll down with the cursor keys to the VTK_DATA_ROOT and press "Return" to edit the data. Here you will need to type in the vtk installation directory and press "Return". Next, press "c" to configure with the correct directory. You may need to press "c" a second time. Once configuration is complete, press "g" to generate the CMake files. Then "q" to exit. | ||
:cmake . | :<pre>cmake .</pre> | ||
[[Image:3D_Widgets_Part_2_Linux_cmake.png|300px|cmake]] | |||
:make | :<pre>make</pre> | ||
[[Image:3D_Widgets_Part_2_Linux_make.png|300px|make]] | |||
The vtk library will be built. Note, this may take a while! | The vtk library will be built. Note, this may take a while! | ||
Latest revision as of 11:55, 3 January 2007
Installing VTK on a Linux System
Setting up
The latest CVS version of VTK may require the latest version of CMake - if your version isn't the latest, compiling VTK will likely give an error that will note the minumum required version of CMake.
- CVS
- CMake
Installing and Compiling
- CMake
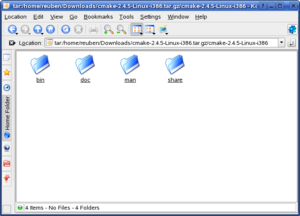
Installing by CMake's included instructions may not always be simple. Some downloads include installation scripts and others may be just the usable files.
If there are no scripts in the downloaded archive, you will need to copy the files to the /usr/local directory with superuser privileges.
- VTK
First you need to download the latest VTK release via CVS. This ensures that you have the correct classes required for the 3D widgets.
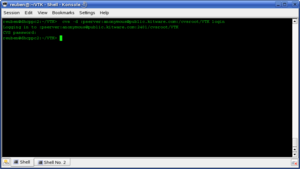
Following the CVS download commands (www.vtk.org): In a terminal window type:
cvs -d :pserver:anonymous@public.kitware.com:/cvsroot/VTK login
Respond with the password "vtk".
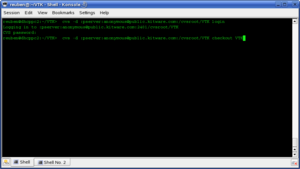
Next type the command:
cvs -d :pserver:anonymous@public.kitware.com:/cvsroot/VTK checkout VTK
CVS will then commence downloading.
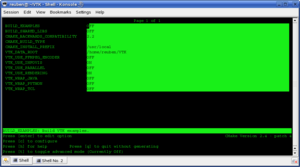
In a terminal window, change to the VTK install directory.
ccmake .
In the screen shown, pressing "c" will commence the configuration. If the vtk installation directory is not in your system's path, there will be at leat one error shown - press "e" to go back to the previous screen. Here you will need to scroll down with the cursor keys to the VTK_DATA_ROOT and press "Return" to edit the data. Here you will need to type in the vtk installation directory and press "Return". Next, press "c" to configure with the correct directory. You may need to press "c" a second time. Once configuration is complete, press "g" to generate the CMake files. Then "q" to exit.
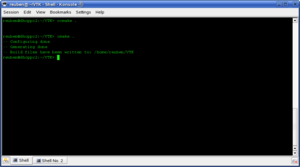
cmake .
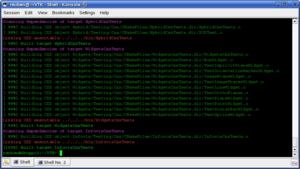
make

