Bender/Documentation/2.0/Tutorial: Difference between revisions
(Created page with "= Video = {| |link=http://vimeo.com/73247670|400px|Bender workflow tutorial | Links to tutorial sections: 1) Load data -...") |
(No difference)
|
Revision as of 13:49, 2 September 2013
Video

|
Links to tutorial sections:
1) Load data -> 0:16 |
Step by Step
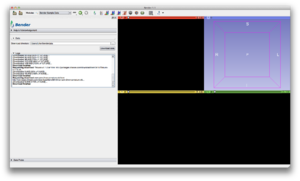
Step 1: Download tutorial data
Select "File->Download Sample Data" in the menu. Select directory (with write access) and click the "Download data" button
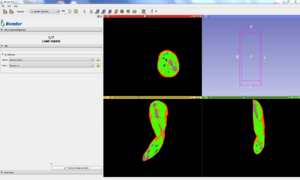
Step 2: Load data
Go back to the Bender workflow module by clicking "Back" in the toolbar (or the "Bender" logo icon. Click the Volume folder button and select the downloaded "man-arm-2mm.mha" file Click the Colors folder button and select the downloaded "Tissues-v1.1.0.txt" file Validate the step by clicking "2/7 - Extract bones and skin"
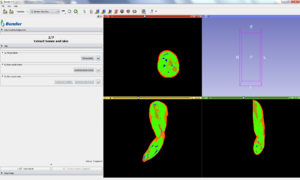
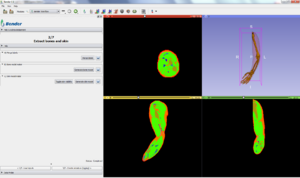
Step 3: Generate bone and skin surface models
Click the "Merge labels" button
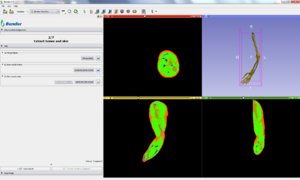
Click the "Generate bone model" button
Click the "Generate skin model" button
Validate the step by clicking "3/7 - Create armature (rigging)"
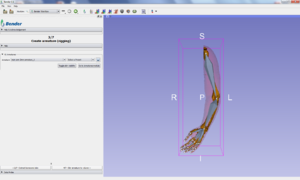
Step 4: Define rigging
Click "Select a Preset" and "Load armature from file" from the menu Select "man-arm-2mm-armature.vtk" file
Validate the step by clicking "4/7 - Skin armature to volume"
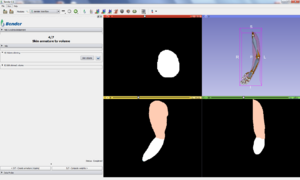
Step 5: Skinning
Click the "Skin volume" button
Validate the step by clicking "5/7 - Compute weights"
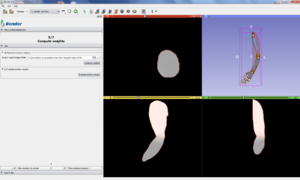
Step 6: Weights
Click the "Compute weights" button Click the "Evaluate surface weight" button
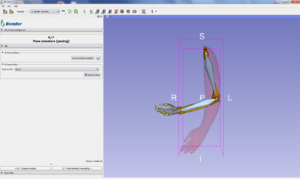
Validate the step by clicking "6/7 - Pose armature (posing)"
Step 7: Pose surface
Select Skin in the "Input surface" combobox
Validate the "7/7 - Pose labelmap (resampling)"
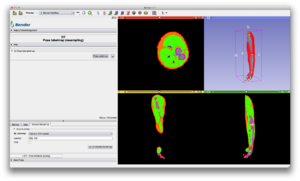
Step 8: Pose voxelized model
Click the "Pose Labelmap" button
Only the bone and skin labels are volume rendered, all the labels can be rendered if you clear the Label(s) line edit. The crop checkbox shows/hides the volume rendering cropping box
